New Message
Start Sending Now
Before sending a message, you may wish to do the following.
- Create contacts (message recipients). See the Contacts section of this user guide
- Create groups to organise your contacts. See the Groups section below
- Set up a template for your message content. See the Templates section
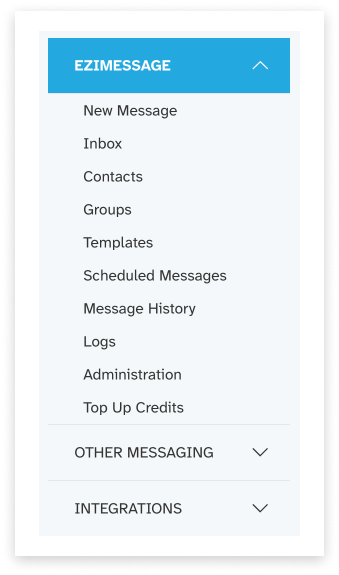
Navigation
New Message can be found under ‘EziMessage’ in the side menu.
Recipients
Send to up to 10,000 unique recipients.
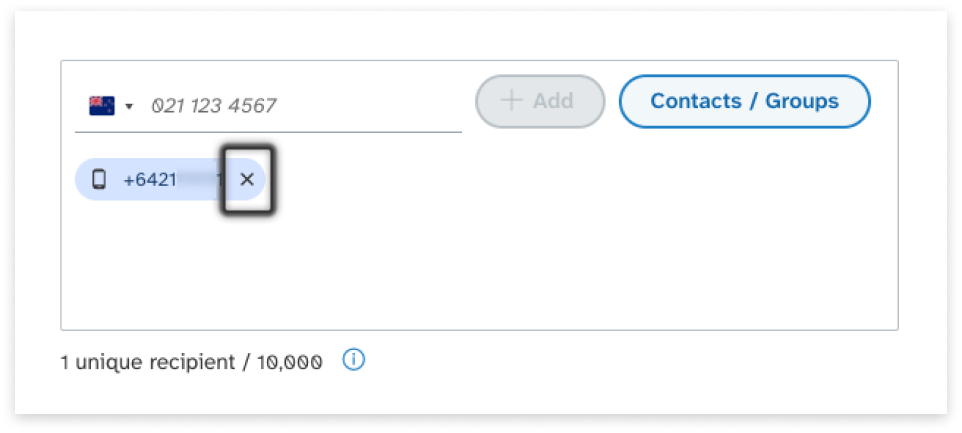
Add Mobile Numbers
- Your mobile input will default to [insert default here] country. Click to change to a different-destination country mobile format, as required.
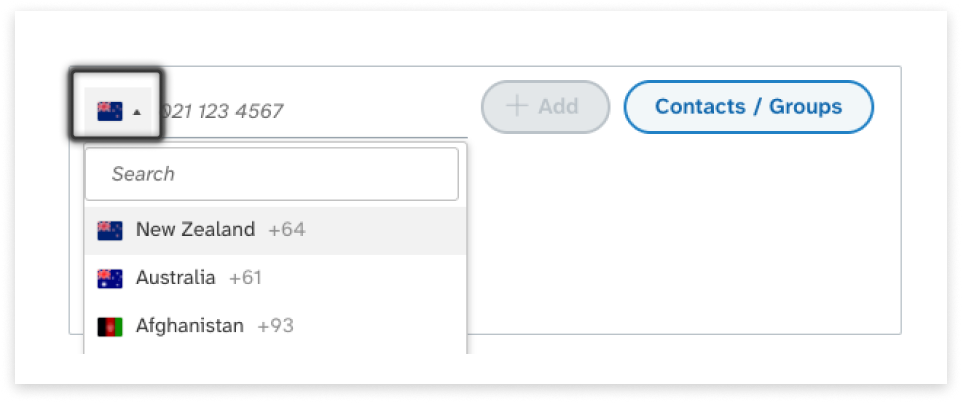
- Type or paste the mobile number into the mobile field. This field will accept:
- International format (e.g. +64…)
- Standard format for the country selected (e.g. 021…)
- Shortened format for the country selected (e.g. 21…)
- There are a few ways to add this mobile number to your recipients:
- Hit ‘Enter’ on the keyboard
- Click the ‘Add’ button which activated once a mobile is entered
- Hit ‘Tab’ on the keyboard to move the focus to the Add button, then hit ‘Enter’
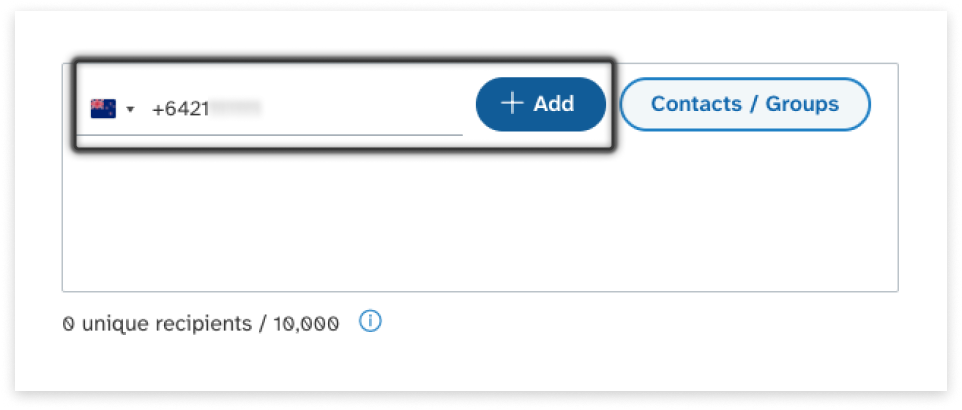
- A chip will be created per mobile, displayed in International format.
Add Contacts or Groups
- Click the ‘Contacts / Groups’ button.
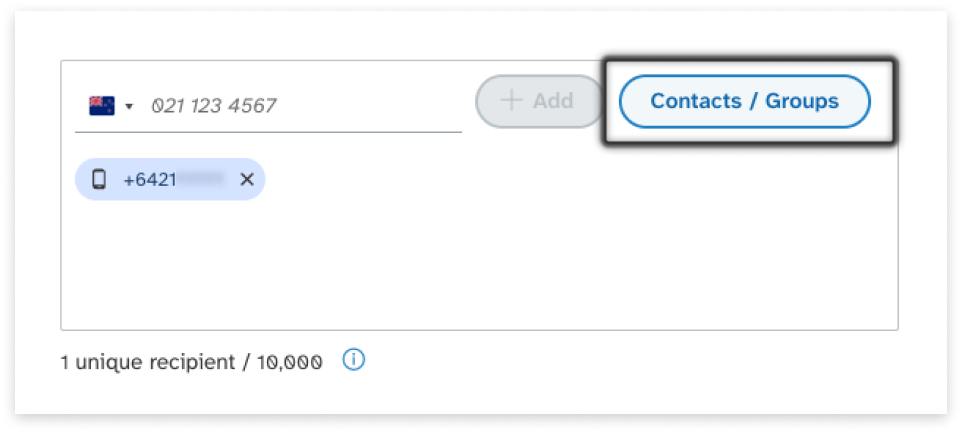
- Contacts are displayed first; navigate to Groups using the tabs at the top.
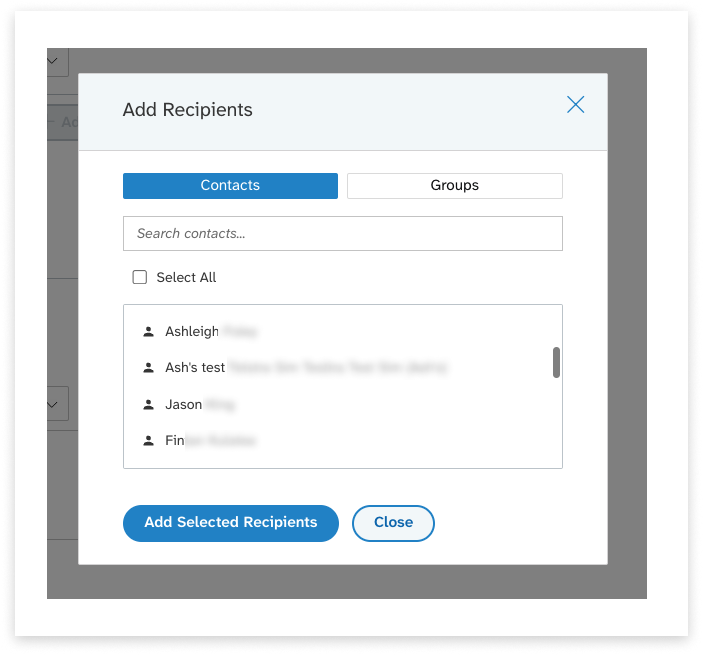
- There are a few ways to select Contacts / Groups:
- Search by the Name of a contact or group
- Use the Select All checkbox
- Hold down Shift on the keyboard and click to select multiple contacts or groups chunked together
- Click and drag for the same effect
- Hold down Ctrl on keyboard and click to select multiple contacts or groups that are separate from each other on the list
- Click ‘Add Selected Recipients’. Be aware this will add both currently-selected contacts and groups, at the same time.
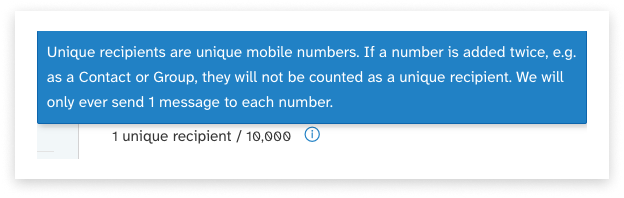
Unique Recipients
EziMessage will only send each message to a mobile number, once.
Recipients are therefore checked and added (or if they are duplicates, then not-added) by mobile number:
- Duplicate mobile numbers are not added as Recipients or displayed as chips
- Duplicates that are added in Groups will not be sent to
- It is possible to have a mobile number saved as both a private AND a shared contact;
- One will be treated as a duplicate
For these reasons, recipient chips may not match the unique recipient total:
Remove Recipients
Click the X on any chip to remove the recipients within.
Compose a Message
You can choose to start with an (editable) template or compose from scratch - and check your character count and message-units as you go.
Start With a Template
Templates are optional to use. They act as a starting-point, and can be edited in the message composer.
- Select a template from the list
- Edit the template content as needed
- For template creation guidance, see the Templates page
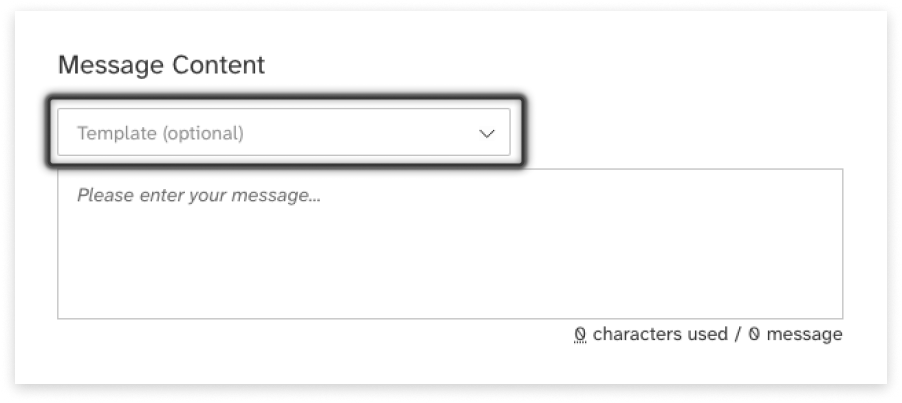
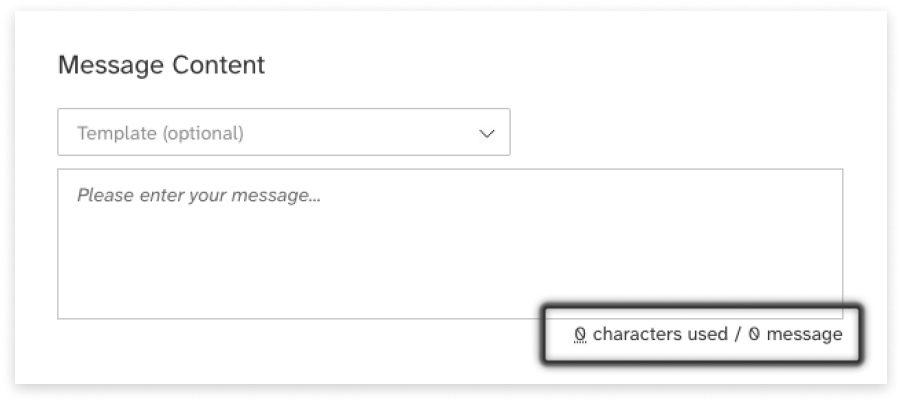
Compose a Message
Write your message in the text field. You will also be able to see:
- How many characters you have used
- Which encoding is being used
- Hover over the ’__ characters have been used’ for more detail
- More about this below, under message encoding
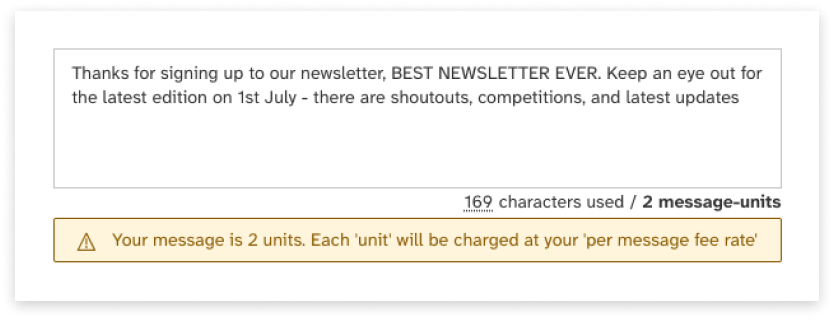
3. How many SMS units will be sent per message: * Next to the character counter * As a notification under the message field * Again in the summary, to be reviewed before sending
Message Encoding
By default, messages will use GSM encoding. GSM encoding includes the basic character set, including the standard English alphabet, numbers and standard special characters such as punctuation. When using GSM encoding, you are permitted 160 characters per SMS message unit.
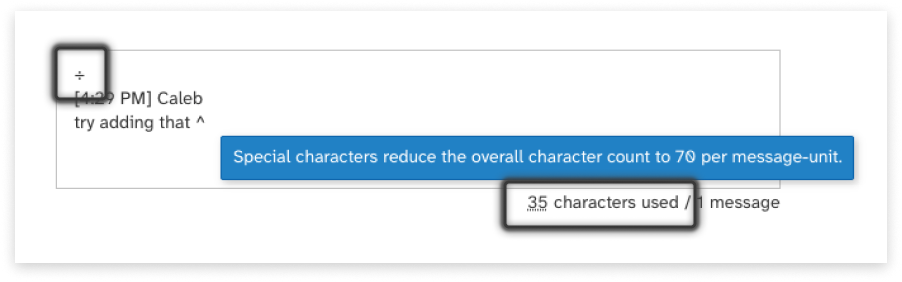
If you add a non-GSM character, such as a letter with an accent, and emoji, or a letter in a non-English alphabet, the encoding of the message will switch to UCS-2. Messages encoded in UCS-2 take up more space than GSM characters, so you will be limited to 70 characters in order for your message to fit within a single SMS message unit.
Sending Settings
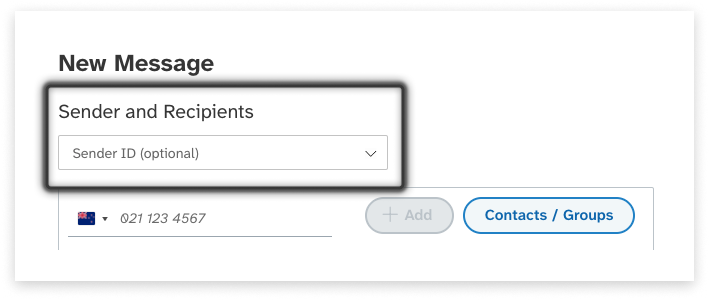
Sender ID
Not all countries allow people to mask their number with a Sender ID;
- Australia will soon require a registered Sender ID for business messaging.
- New Zealand, on the other hand, does not allow the use of Sender ID.
If your user account is set up with permission to use Sender ID, you will see this dropdown:
Important Notes: Sender IDs
- Sender ID (also called Source Masks) display custom ‘From’ details to a recipient, instead of an originating number
- Replies are not possible with messages masked by a Sender ID
- NZ availability: International messaging only (carrier dependent)
- Contact your account manager to request Sender ID
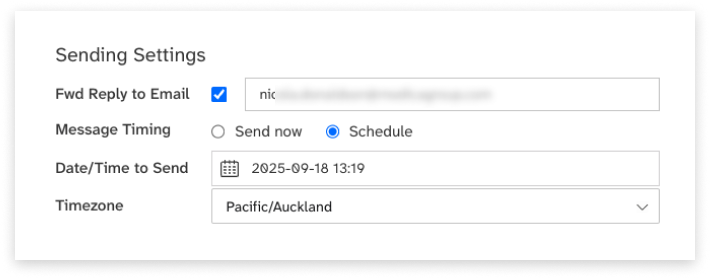
Fwd Replies to Email
- Tick the checkbox to enable reply-forwarding
- Enter a forwarding email address (optional)
- Replies will be sent to this address, as well as appearing in the Inbox
Important Notes: Email Forwarding
- Replies are forwarded to nominated email address
- Direct email replies are not supported - use the EziMessage Inbox to send replies back to SMS
- Single forwarding address only (use distribution list for multiple recipients)
Send or Schedule
If choosing to schedule your message to send at a later date:
- Select the ‘Schedule’ radiobutton option
- Set future date and time
- Select relevant timezone
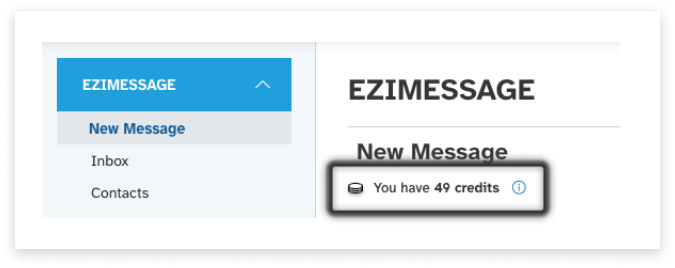
Credits
If you are a prepay user with credits, you will be able to see them at the top-right of the platform, and at the top of a New Message:
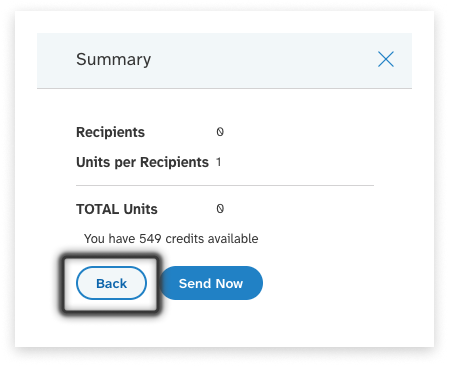
Note: If you have reached the review stage and realised you do not have enough credits, we recommend:
- Clicking ‘Back’ and scheduling your message for a future date.
-
Then, top up your credits - read about the current process for topping up, here.
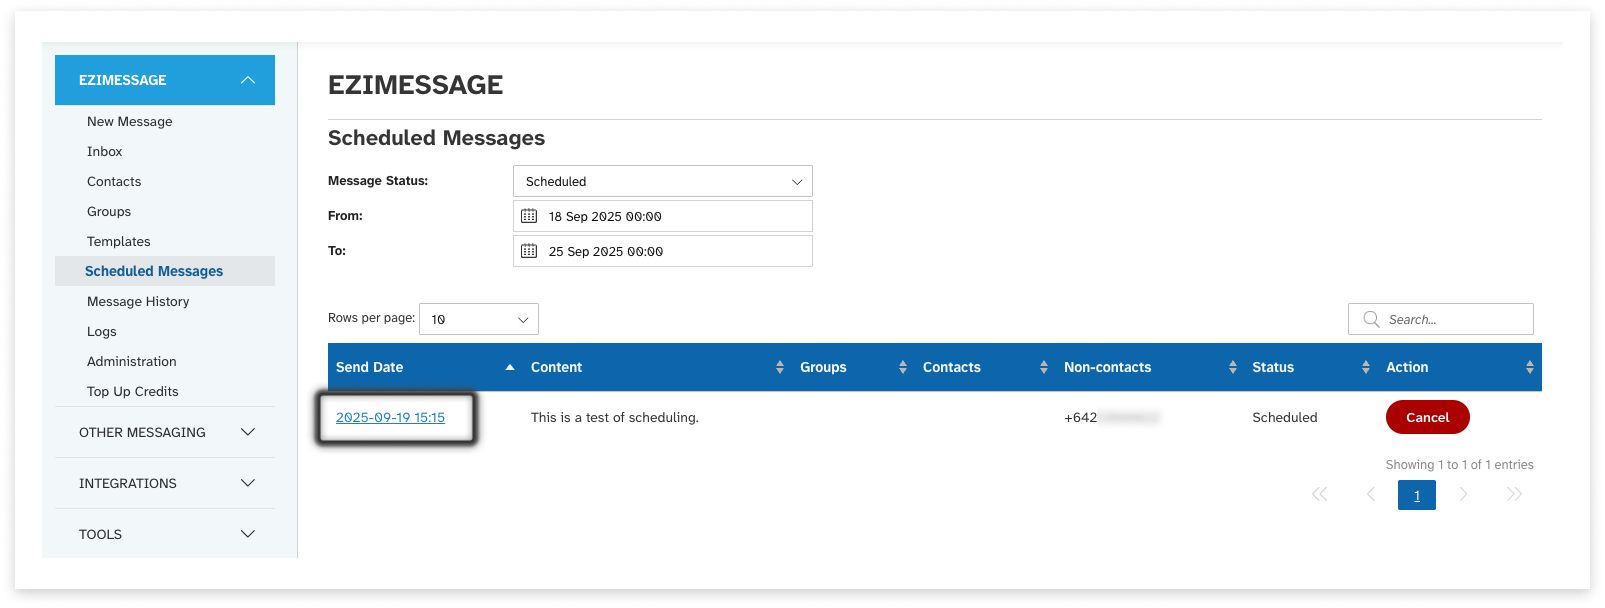
-
Your scheduled message will behave as a draft message, and you can re-open it from the Scheduled Messages page and trigger it from here:
Review Before Sending
There is a step to review the number of recipients, credits (if you use them), and total message-units before sending.
- Click ‘Review and Send’ or ‘Review and Schedule’
- Confirm everything is as expected
- Click ‘Send Now’ or ‘Schedule’